
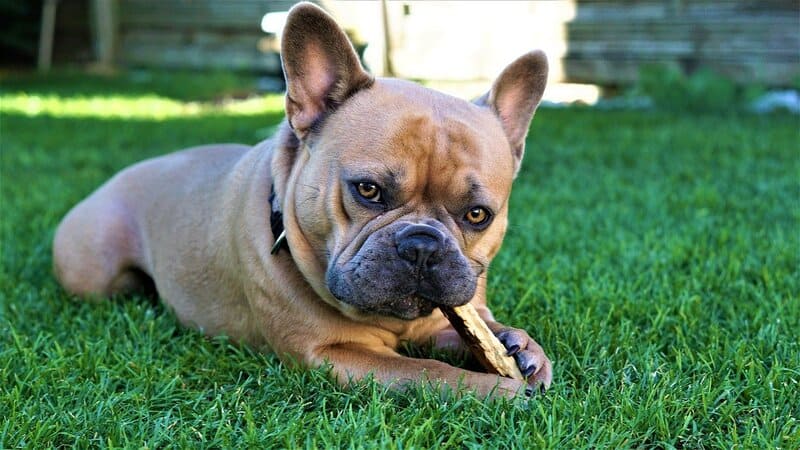
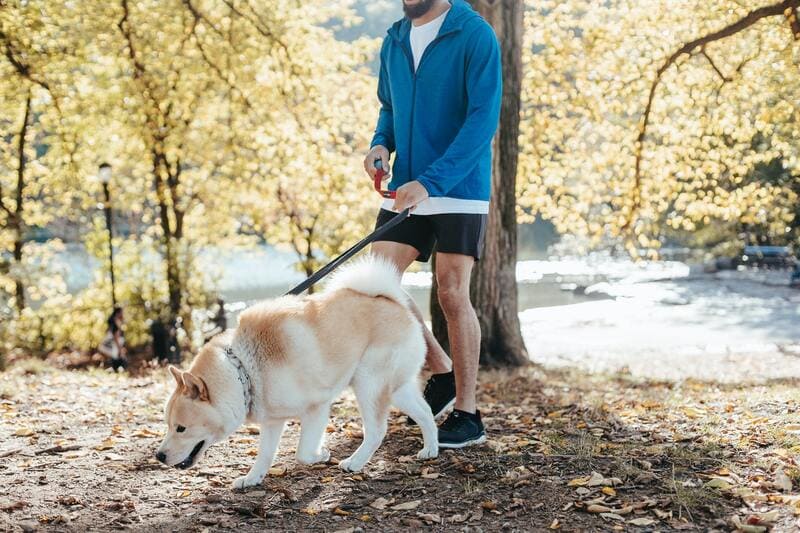
A dog that knows the “leave it” command stays away from things that it comes across along the pathway to the park. Not stopping to sniff on some old prey trail that they see or smell is no easy feat, so the “leave it” cue teaches your dog to walk over and ignore those items that are less likely to be clean or edible.
In moments when your dog is overcome by his instincts and goes over to investigate that U.S.O (unknown smelly object) is when the “leave it” command comes in handy. A short firm cue of “leave it” will have his trained instincts kick in and just let go. In his mind, he might just get some reward later or just obey his owner anyway. At least that will keep them both happy.
Why Is the “leave it” command important?
The “leave it” verbal cue which belongs to the family of basic commands, is not only essential but dog life-saving too. To your dog, it might be something like a piece of steak lying on the ground, but in reality, food poisoning is what he’d probably get.
We aren’t really into teaching our pets some human virtues like patience or self-restraint. However, he needs some survival skills to at least lengthen his life, enough for you and him to enjoy long walks in the park for most of his living years.
The “leave it” cue is a basic social skill that also includes leaving other animals alone, like other dogs and small children.
How to Teach Your Dog to “Leave It” – a detailed guide
In this guide, we will teach you one essential method that can give you results in the shortest amount of time which is the direct “leave it” training. Then, it is followed by a supplementary command that you can choose to teach your dog, or not, which is the “take it” command. The third stage is adding controlled real-life distractions.
- Stage 1: The Direct “Leave It” Training
- Stage 2: (optional) The “Take it” Method Command
- Stage 3: (recommended) Adding Controlled Real-Life Distractions
Basic Commands and equipment
- “Leave It”: This verbal cue will prevent your dog from eating things that he comes across. Training with this command will instill some form of restraint in your pet, even though he might not understand it, he will take this to heart just to please his owner.
- “No”: A short and curt verbal cue that sometimes precedes “leave it”. On its own, it stands similar to stay but a little bit more emphatic.
- “Sit”: This command allows your dog to rest in a sitting position looking up at you.
- “Yes” or “okay”: This verbal signal helps you mark the desired action. It is an indicator that he just completed a command, or is sometimes used as a halfway indicator to a completed trick.
- “Good” (usually followed by “girl” or “boy”)
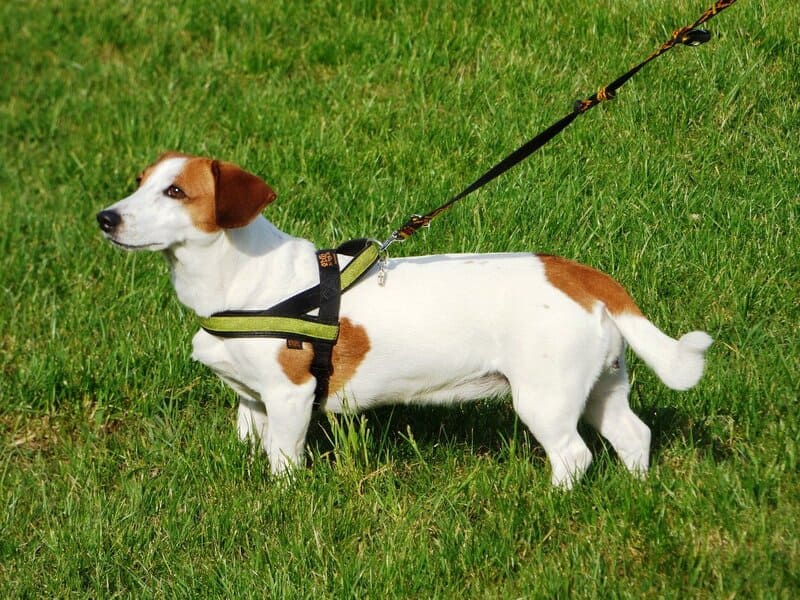
- Dog Collar and Long leash: Used as a firm but gentle restraint when training your dog for the “leave it” cue.
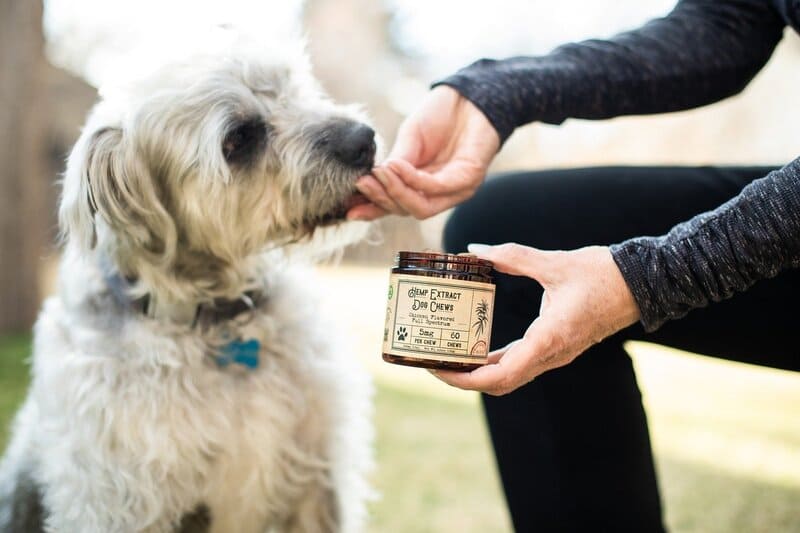
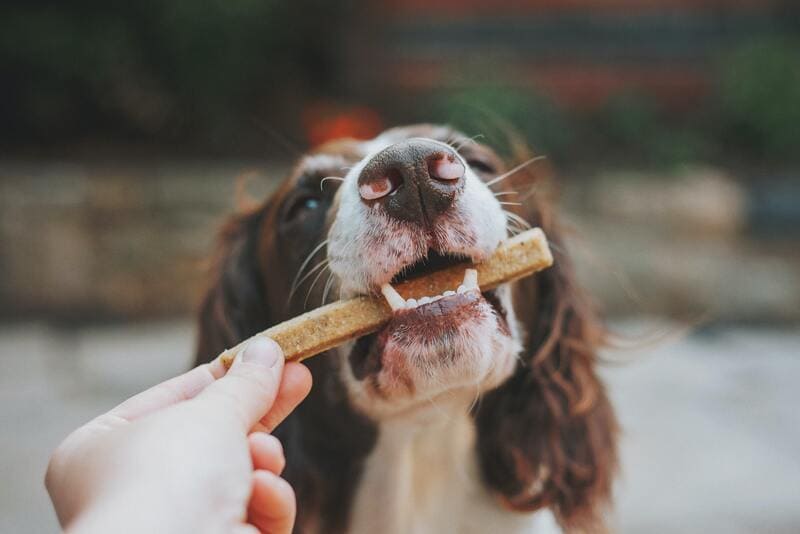
- Treats and a Treat Pouch: Make sure you bring his favorite nibbles and some high-value treats. The pouch itself must be easy to reach for easy access.
- Clicker (optional): A hand-held device that makes a clicking sound to mark the desired action.
Hand Signal
The “leave it” command works well without hand signals. But in the case of the deaf dog, here are the steps:
- Step 1: While your dog is standing or sitting facing you, start by laying a treat on the floor or some elevated place in front of him.
- Step 2: Diagonally bring your hand a few inches away from the treat, then swipe it down in a diagonal “karate chop” with fingers spread sideways to show your dog “leave it”(without saying anything though)
- Step 3: Upon your cue, whenever your dog obeys and leaves the treat alone, signal a thumbs up near the treat to mark the behavior. Make sure your dog sees it.
- Step 4: Pick up the treat and throw it to the side as a reward. If you wish, you can also do a tactile reward like patting him or rubbing his neck for a job well done.
Stage 1: The Direct “Leave It” Training with a Leash
The goal of this exercise is to make your dog understand that “leave it” means leave it, and not touch it or do anything else to it. This method will teach you and your dog to be consistent about leaving things alone.
You will use the leash as a quick correction tool to give him a physical signal as well as the verbal cue of “leave it”.
Step 1: Put your Dog on the Leash
Hold the line at a normal length, just about enough for you to put some tension to it whenever necessary to send your pet a message of “no” or “leave it”.
The “no” command will be a go-between “leave it” and the distraction lure. Once your dog gets used to the “leave it” command you can drop the “no” later on. It won’t be used unless it’s urgent and necessary.
Step 2: Drop Treats to the Ground and Say the Command “Leave It”
Say the command “leave it” for your dog to hear, then, one by one drop a few treats to the ground. Remember to say leave it before each drop. On the very first few drops, your dog will try to get at the treats and you will give a firm tug at his collar to both stop him from getting to the treats and issue a physical and verbal correction.
The first few drops will have you pulling back at the leash while correcting with a “no”, and or “leave it”. This will happen since your dog needs to get used to the command.
Step 3: Reward Your Dog for Calm Obedience
When he is starting to understand and leaves the treats alone, reward her or him well. And sometimes over-reward him for emphasis and retention.
Training Sequence:
- Say: “Leave It”
- Drop distraction treats ( at least 3 pieces)
- Tug at the leash and stop your dog from getting to the treats.
- When he leaves it, walk away from the distraction treats and reward.
- Pick up the treats and start all over.
Step 4: Repeat the Exercise
Keep on doing the exercise until your dog masters the cue. You will get to notice this when the tension on the leash becomes less and less after each try.
Important Tip: Don’t expect your dog’s response to be consistent on the first few sessions as this will take time, especially for restraint exercises. Let the repetition run its course, and even if your dog already seems to understand the cue and respond well, continue practicing until it’s time to go outside.
Once you are out of the house it gets a little bit more challenging for your dog with all the sights and sounds of the real world.
Stage 2 (optional): The “Take it” or Free Choice Method Command
You might be wondering why your dog needs to learn “take it” aside from “leave it”. Recent advances in training techniques prove that certain opposing commands are necessary to act as a counterweight to certain commands that need some level of restraint. This is to fill in an occasional gap between desired behavior and the restraining command.
To put it simply, if you are teaching what he can’t do, you may also teach or encourage him to do what he is allowed to do – like putting his favorite toy in his mouth or eating his favorite treat. This command will help him identify things that you allow him to put in his mouth. This distinction is much easier for your dog and ultimately benefits you as the owner. We all want that fun but well-behaved canine that doesn’t chew up the couch.
This “take it” command acts as the opposite which results in a calmer dog. Being that he knows what you want and what you don’t want helps him to automatically ignore garbage laying on the ground.
Step 1: Hold the Treat in Your Hand
With the treat in one hand, close it to a fist and let your dog sniff, lick, and even paw at it to try to get to the treat.
Step 2: Wait for your Dog to Stop Trying, Then Mark It
Every time he stops trying or even at the slightest sign of disinterest, mark it with a “yes” or a clicker (if you are using one).
Step 3: Reward Your Dog for Not Paying Attention to the Lure
After praising him, quickly open your hand while saying “Take it”. This is his reward for not paying attention to the lure.
Step 4: Repeat the Exercise
After repeating steps 2 and 3 several times, your dog will soon catch on and start ignoring the lure on his own. Delay the reward for 1 or 2 seconds before giving it to him to emphasize the desired behavior. Always add verbal praise of “good girl!” or “good boy!”
Step 5: The Stop Gap
When your dog is already used to seeing the closed fist, this time expose the treat with an open hand. Naturally, your dog will go for it. Close your hand as soon as he moves then allow him to ignore it, and once he does, say “Take it” and reward him.
This will teach him to remember “take it” as the signal for permission to eat regardless of an open or closed fist. This will come in very useful when he gets out into the real world.
Stage 3: Adding Controlled Distractions
There are 2 ways you can go about adding distractions to your dog’s training. One is to go to the outside world and try to find random locations where your dog might find something on the ground worth investigating. The other is to provide your dog with a distraction that you can safely produce – like a piece of bone, or a can of smelly meat sauce.
Step 1: Produce Your Lure Distractions and Place Them on Location
Lay your distractions on the pathway that you and your dog will be taking on. It could be any location where you will be allowed to practice. it could be a wide sidewalk or a large open space. Use a real can of smelly meat sauce or a large bone that you can get out of your kitchen. Place the items about 7-10 feet away from each other. This way you can simulate your dog’s experience with coming across smelly garbage.
Step 2: Walk Your Dog Over the Distractions
Walk your dog on a leash and bring his favorite nibbles in your pouch. Also, bring high-value treats that can be made available in your other hand. As soon as you pass over the smelly bone and or can of spaghetti (whichever came first). Say “leave it” to your dog and continue walking.
Step 3: Use Leash Tension to Correct Your Dog
Assuming that your dog may have already undergone either method 1 or 2 training, he may already be accustomed to obeying the “leave it” command. He will likely follow your instructions immediately, but if he can’t help it, you can correct him with the leash by putting some tension on the leash to lead him away. Use it sparingly to give your dog the chance to exercise his willpower to resist the smells. Remember to give the “leave it” command while trying to maintain a loose leash.
Step 4: Let Your Dog Be Tempted
At one point, try to give your dog the full range of experiences by giving him a chance to be curious. Always maintain a loose leash. If he can’t contain himself and approaches the garbage, put a hand over his eyes and say “Leave it”, or “No”.
Step 5: Reward Your Dog
When he successfully passes by the distractions and doesn’t break stride, reward him promptly and generously with jackpot treats like roast chicken or frozen liver ( a popular canine favorite.
Step 6: Test Your Dog with Random Real-World Distractions
You can do this only when you have confidence that your dog has already mastered the command of “leave it”. Keep rewarding him for every successful instance and slowly fade out the treats by reducing them until he is used to responding to just verbal and sometimes tactile rewards.
Read also: How to Teach Your Dog “No!”
Troubleshooting
“My dog responds well when we are at home training, but he doesn’t pay attention to me when we are outside of the house. What can I do so he pays attention to the training outside?“
Level up his treats to high-value treats so he can have more incentive to follow your instructions.
Other Important Tips
Don’t allow your dog to get to the distraction lure when you are picking them up, otherwise, he will not take the training seriously, and won’t even understand it either. Be consistent with giving your reward from either your hand or someplace other than the “leave it” area.
Related: How to Teach Your Dog to Ask Permission
How to Train Your Dog to Leave the Cat Alone
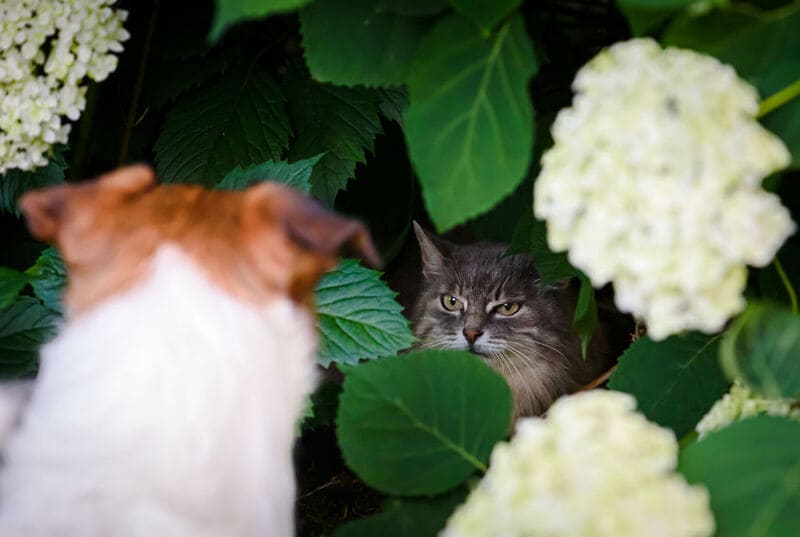
Teaching your dog to leave other animals alone applies to the same steps that are listed in this guide. The difference is the places where he encounters these cats.
1. A cat that lives with you and your dog as one other family member.
If they have trouble getting along, keep them separate for a while.
Prepare for training. You can ask your dog to “stay” or “sit” as a substitute command until you can begin training for “leave it”. Generally, cats won’t harass dogs that they don’t know. On the other hand, dogs just can’t help themselves. So, the first thing you need to do is teach your dog through this guide and leave the cat alone. After which they might learn to be friends later.
2. A cat that you meet on the way to the park, or maybe an alley cat.
If and when you may already have spent sufficient time and effort in training your dog in any of the 2 techniques in this guide, there’s a big chance that it will kick in when you give the command. Always be ready with his favorite snack though, this way you can reinforce his success.
See also: How to Teach a Dog to Settle – A Complete Guide
What is the Difference Between “Leave It” and “Drop It”?
“Leave it” means both you and your dog may have seen or smelled something on the ground. And even before he can come near it, you say “Leave it”. It means not to touch it and “let’s go”.
“Drop it” means to let go of something that he already has in his mouth. It could be a toy, a piece of rock, or a kitten he just caught. Either way, both commands serve a very important purpose in the whole social safety schooling that your dog is getting.
How Do I Train My Dog to “Leave It” Without Treats?
Because this skill is so important and not so easy to teach, we recommend you teach your dog with treats at the beginning. Just try to fade out the food as soon as you can. This skill needs more than his attention since you will have to appeal to his basic need which is to eat. More often than not, if you try other methods than food, it will likely end up in some sort of punishment which is not as effective compared to using treats at the start.
Your dog’s hunger and curiosity will always trump your ability to scold him. He will eventually become immune to your anger and altogether ignore you. Just go ahead and optimally use treats as needed.
How Long Does It Take to Train a Dog to “Leave it”?
Your dog’s progress will largely depend on the time and effort you are willing to give for his schooling.
Adult Dog
Like most basic commands, the training for “leave it” will take approximately between 1-2 weeks, at 3 times a week with 2-3 sessions per day. That’s 15 minutes per session.
Puppy
Because of the short attention span, you will have to spend at least 4-5 weeks in the first 7-8 weeks of the life of your dog. That will also be 3 times a week, with 2-3 sessions a day at 5 minutes each.
Older Dogs
They can be trained too. But just like puppies, senior dogs might need more time and patience because they will most likely have habits that need to be unlearned before they can learn new ones.
How Do You Teach a Stubborn Dog to “Leave It?”
The first thing you have to consider for training “leave it” is how strong and big your dog is. You will have to have the ability to restrain him when you are correcting him. Other than that, with food-intensive training like this one, it’ll likely keep your dog’s attention for longer periods.